PeopleSoft Financials Resources
Purpose:
This guide explains how to approve an expense report through Financials.
Procedure:
To begin approving expense reports, you will need to have access to the PeopleSoft Financials system.
Go to www.case.edu/fin to log in. You will need your CWRU Network ID and password for access. Once logged in, you should see the Main Menu link on the top left hand corner.
- From the Main Menu, click the Travel and Expenses link.
- Click Approve Transactions link.
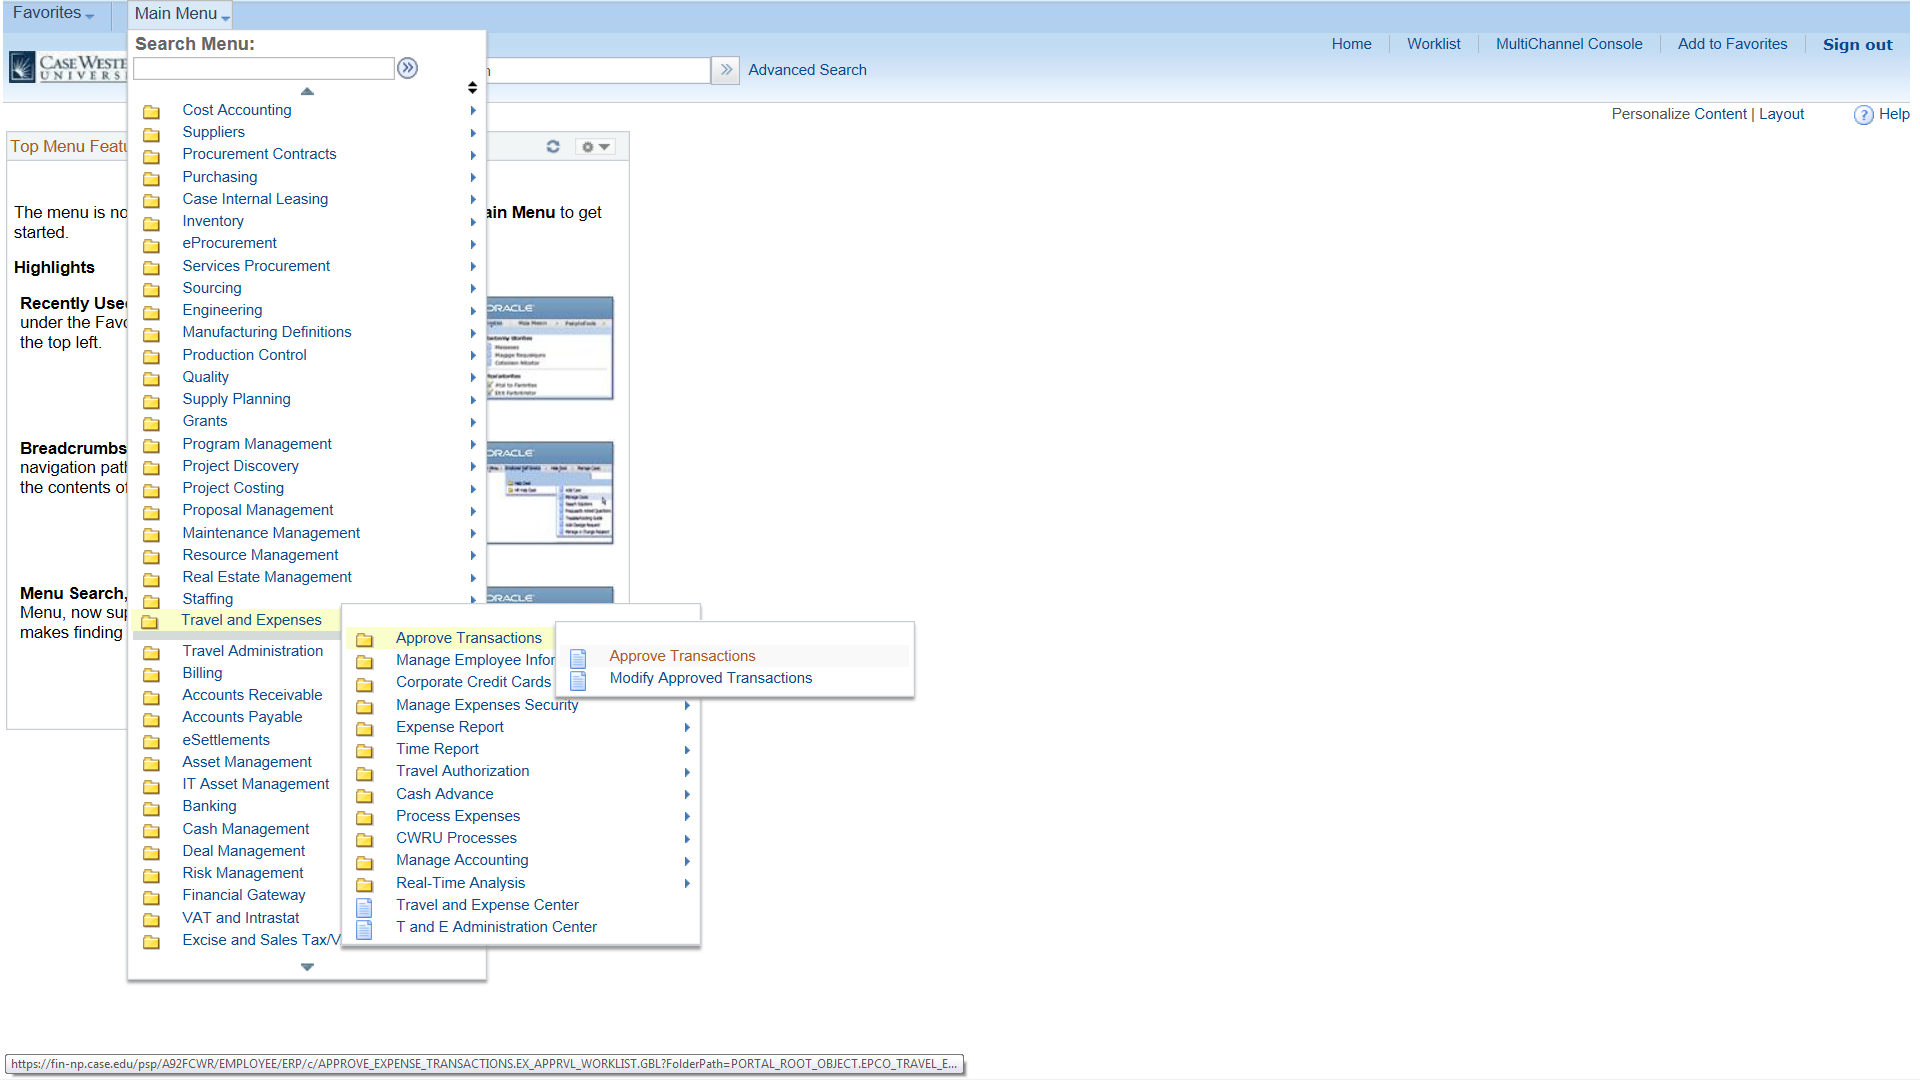
- From the Main Menu, click the Travel and Expenses link.
- Click Approve Transactions link.
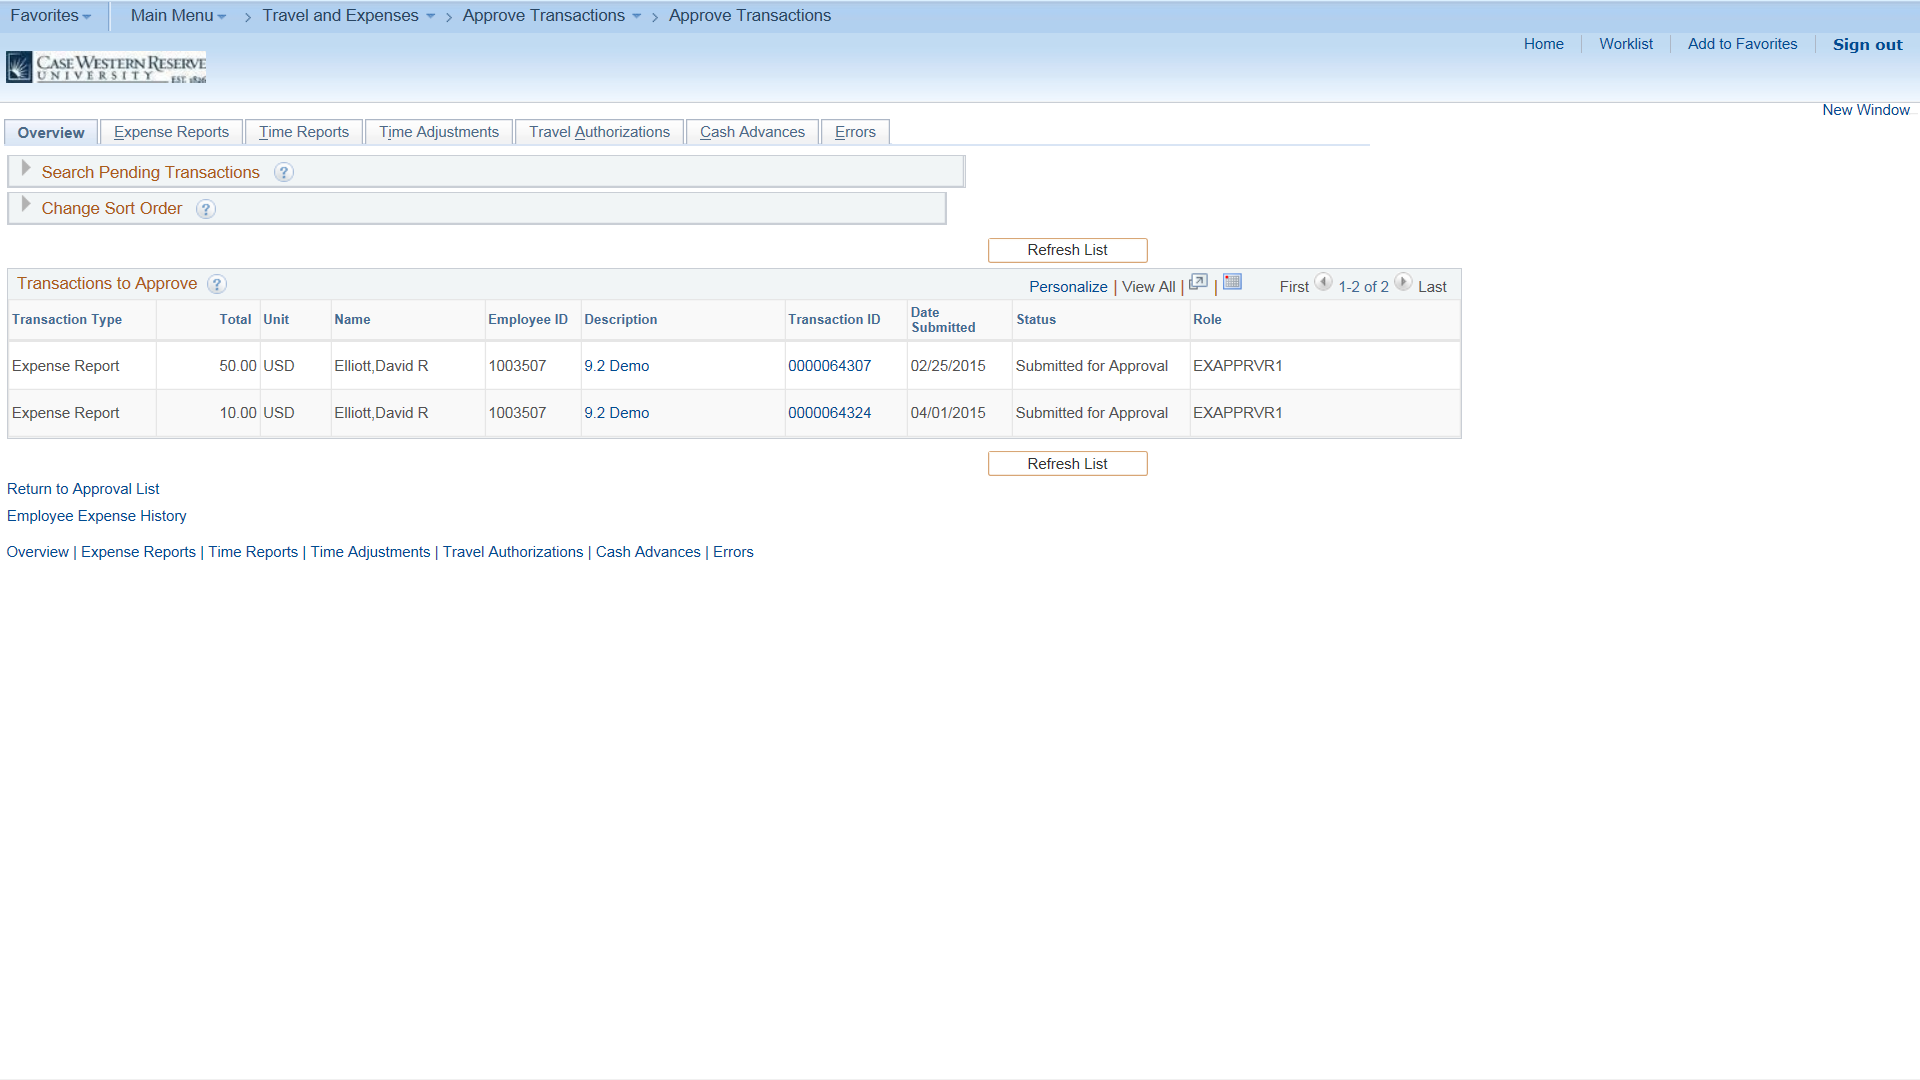
- The Approve Transactions screen appears with the reports needing approval
The Overview tab gives a list of all items needing approval.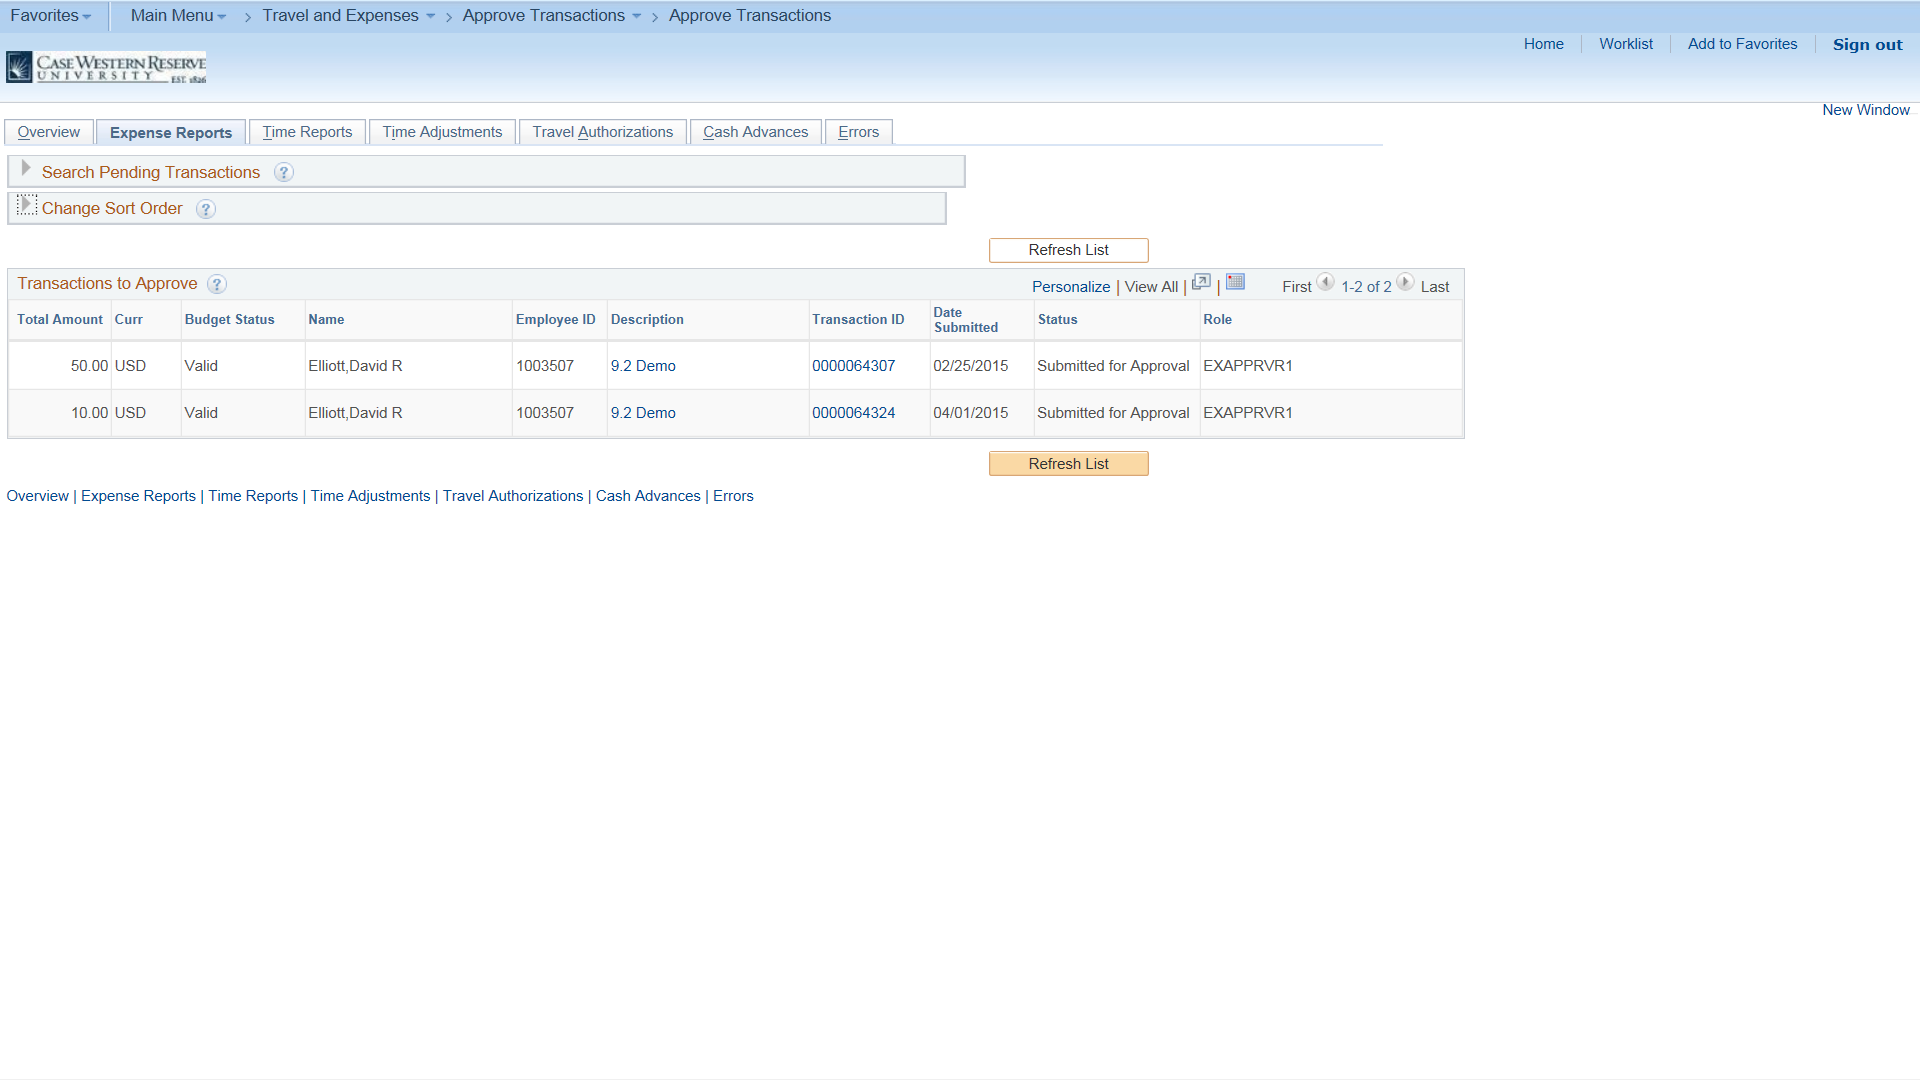
- Click on the Expense Reports tab to see expense reports
- To review an expense report, click on Transaction ID link for the specific line item or transaction.
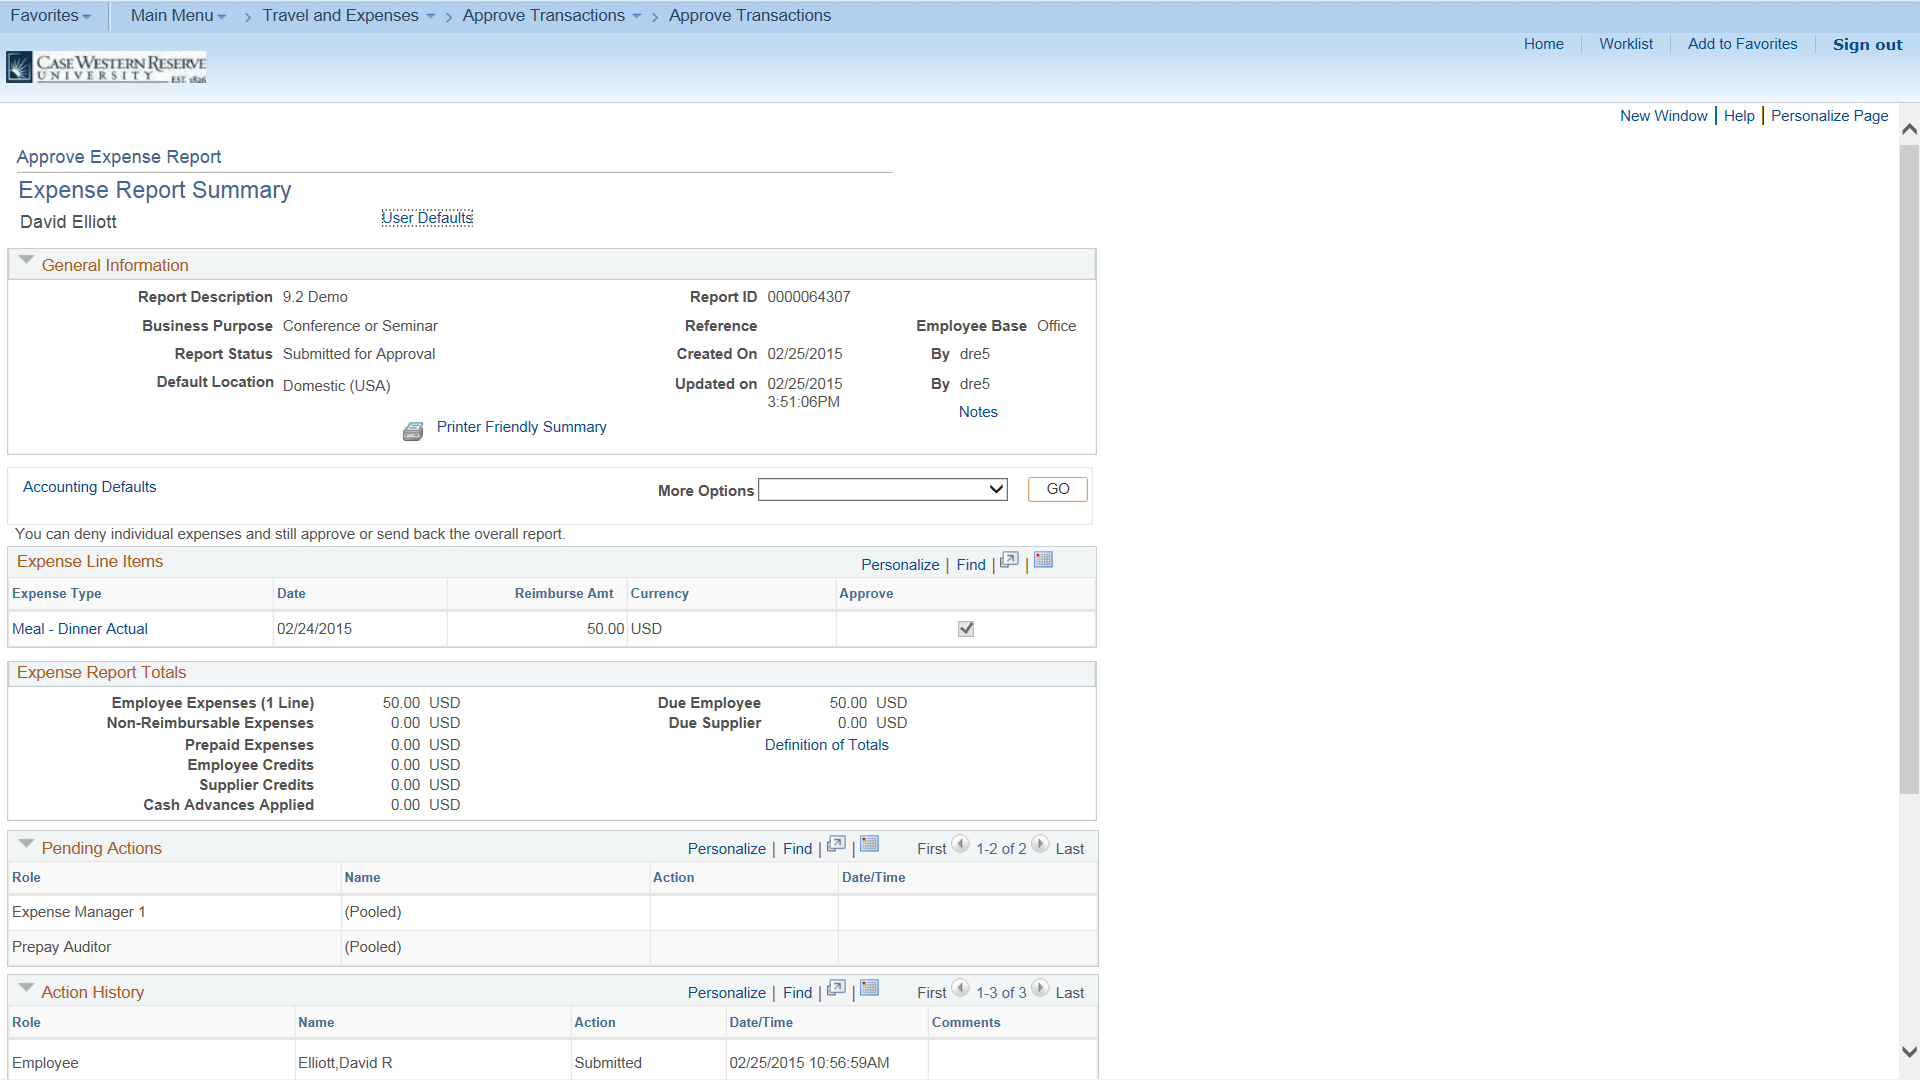
- You will see the Expense Report Summary page.
For reference, the Report ID number is at the top of this page. - To see the accounting distribution information, click the Accounting Defaults link.
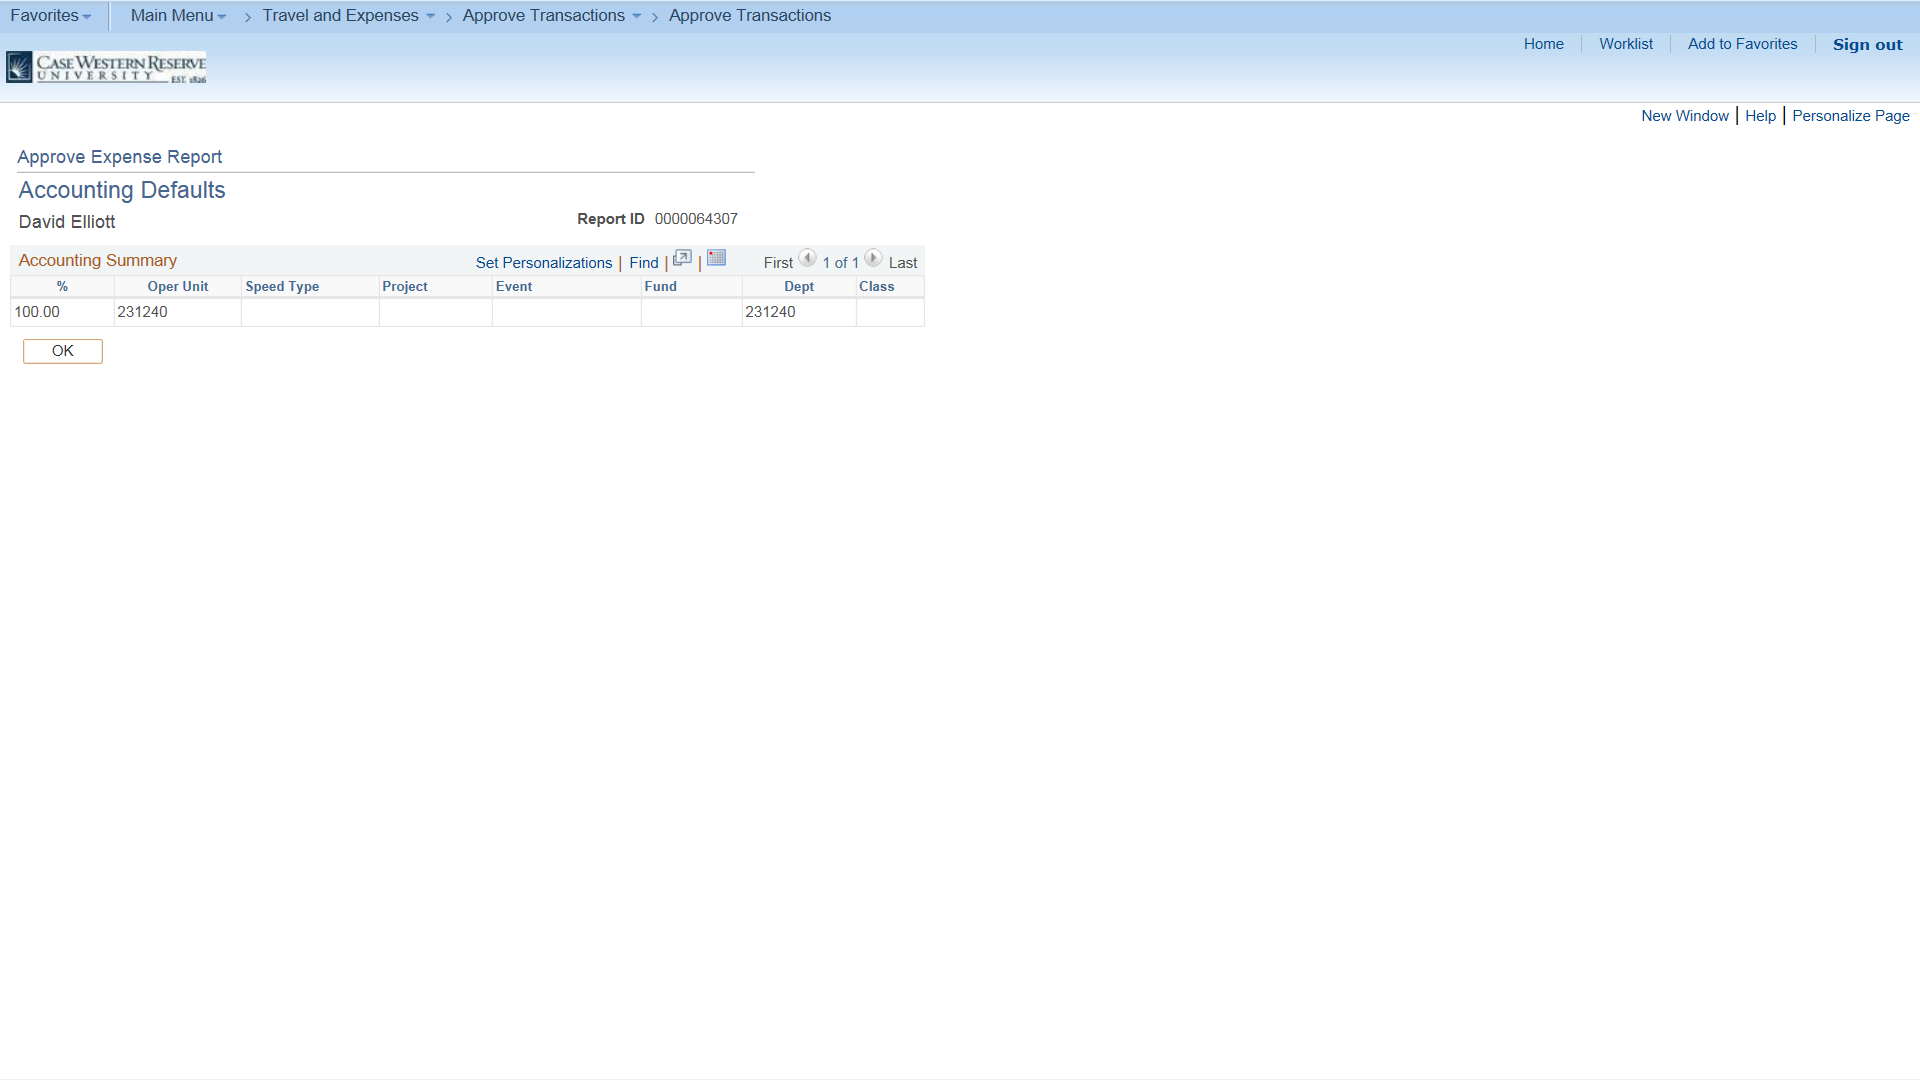
- You will see the Accounting Defaults page.
The Oper Unit is the department ID. You will notice the % column if the expenses are shared.
The Speed Type and Event Chartfields will be completed. - Click OK to return to the expense report.

- To view the receipts that are attached to a report, click the Attachments link in the General Information section.
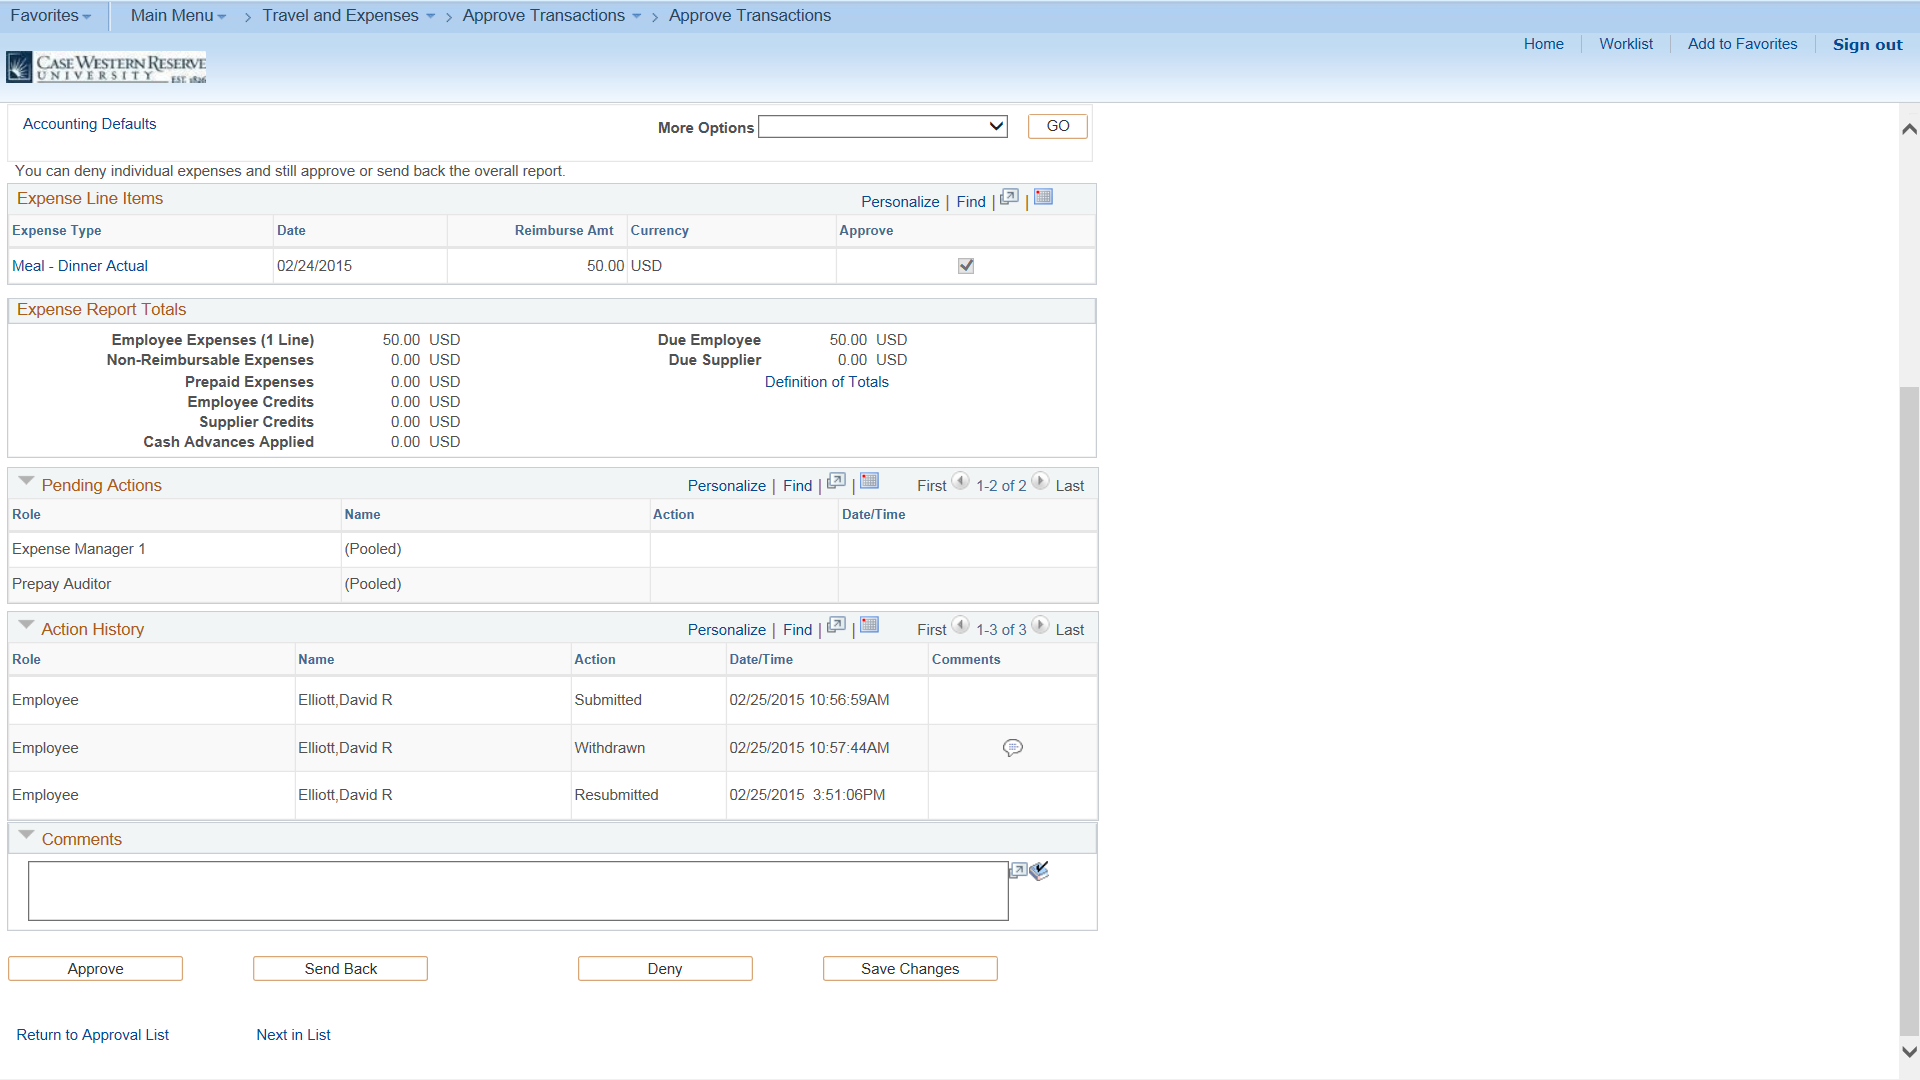
- To approve the report, scroll to the bottom of the page. Click the Approve button.
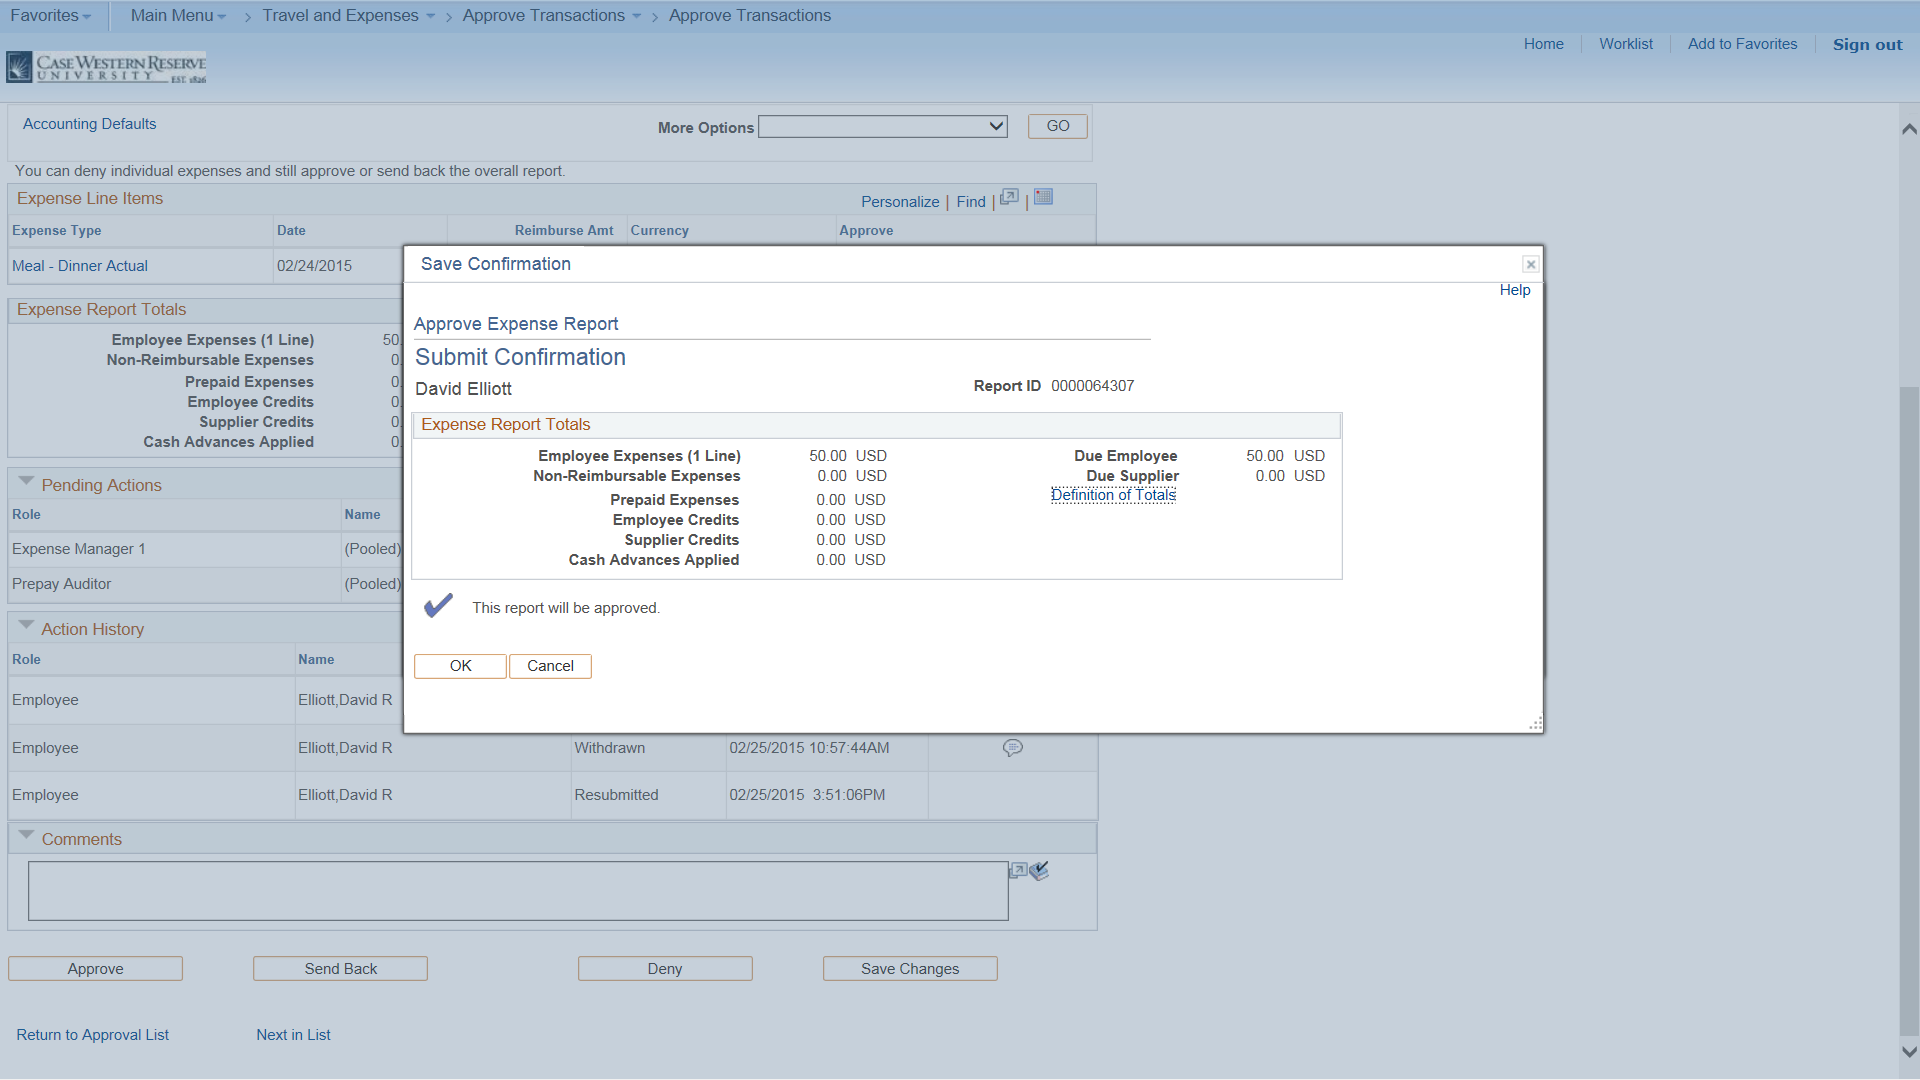
- The Submit Confirmation page appears. Click the OK button to continue.
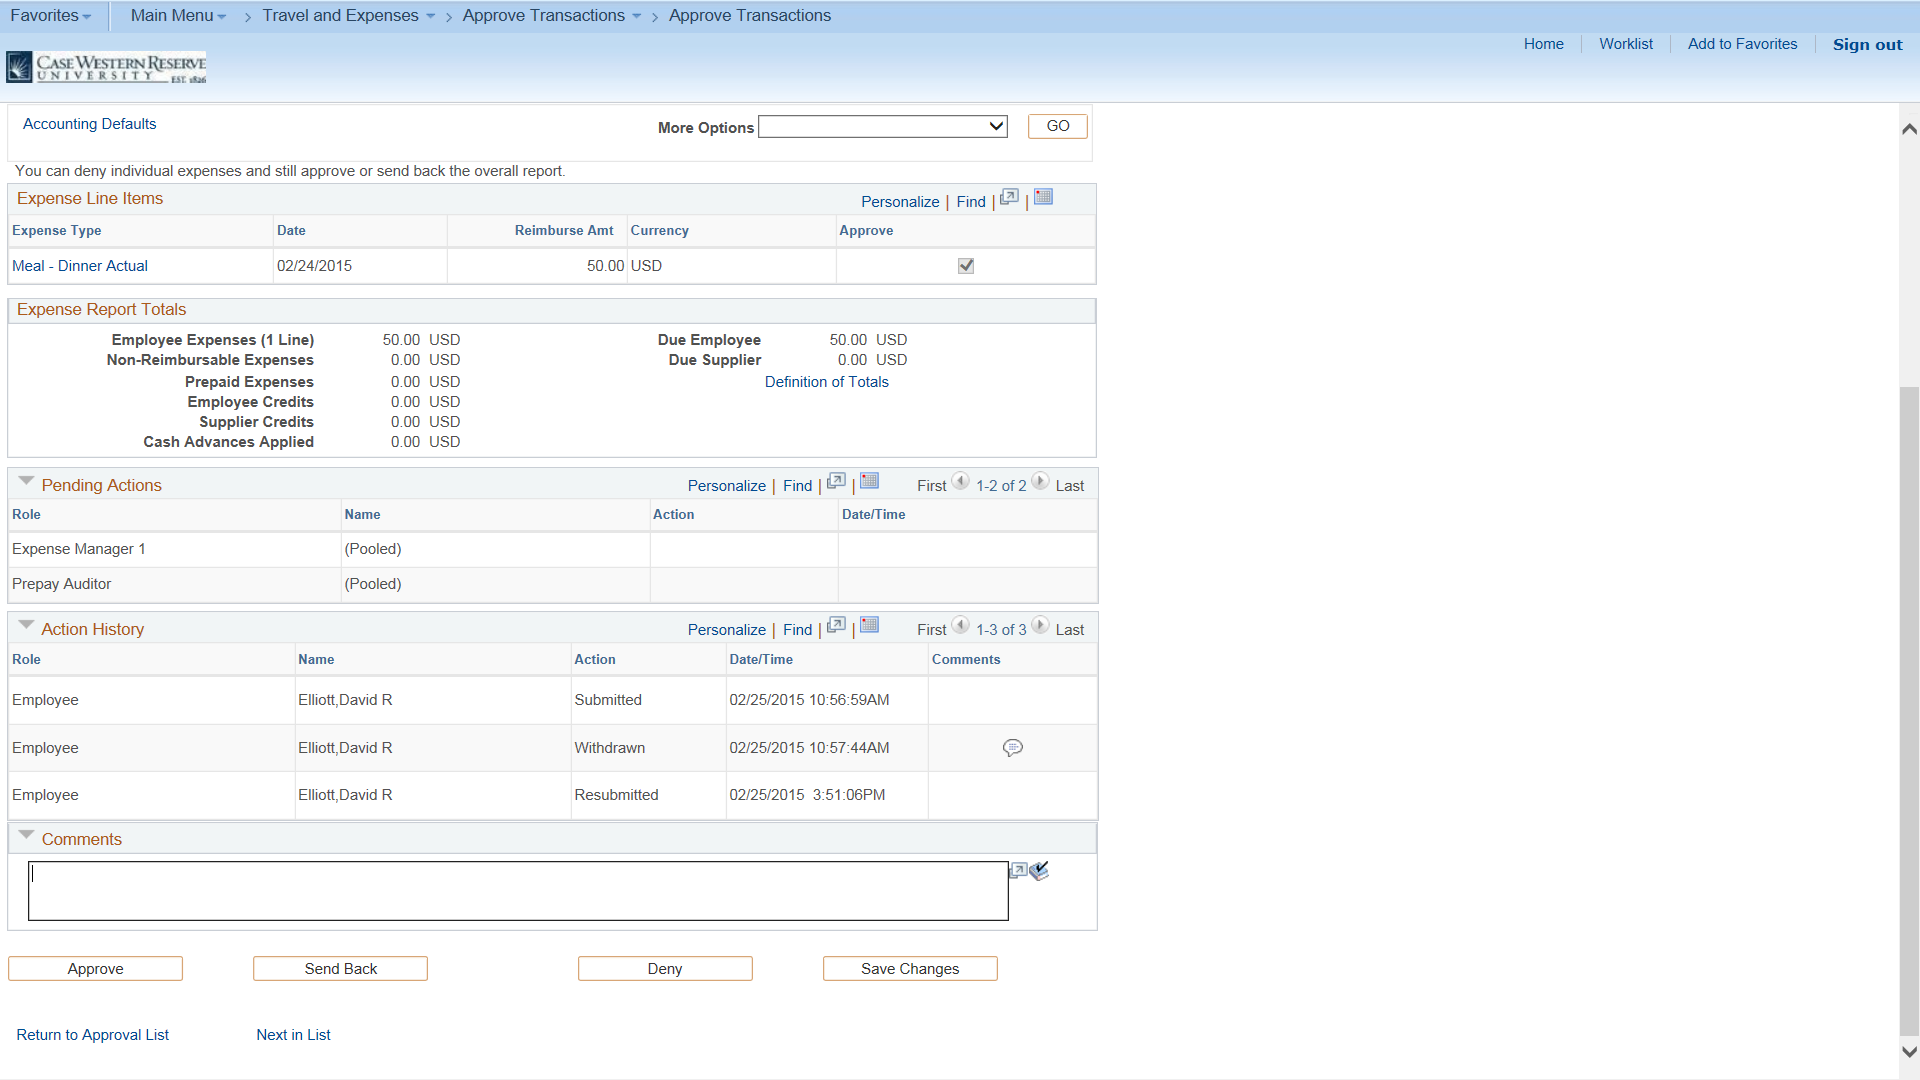
- The approver also has the ability to send back an expense report to the sender for revision.
To do this, the approver must enter comments in the comments box above. Click the Send Back button when complete.
- You will see the confirmation page to send report back for revision. Click the OK button when complete.

- To make comments without making an approval decision, you may save changes by clicking the Save Changes button.
- Denying a report will not stop the report. The submitter will need to resubmit a new report. This option is not recommended unless absolutely necessary. Click the Deny button to deny the report.
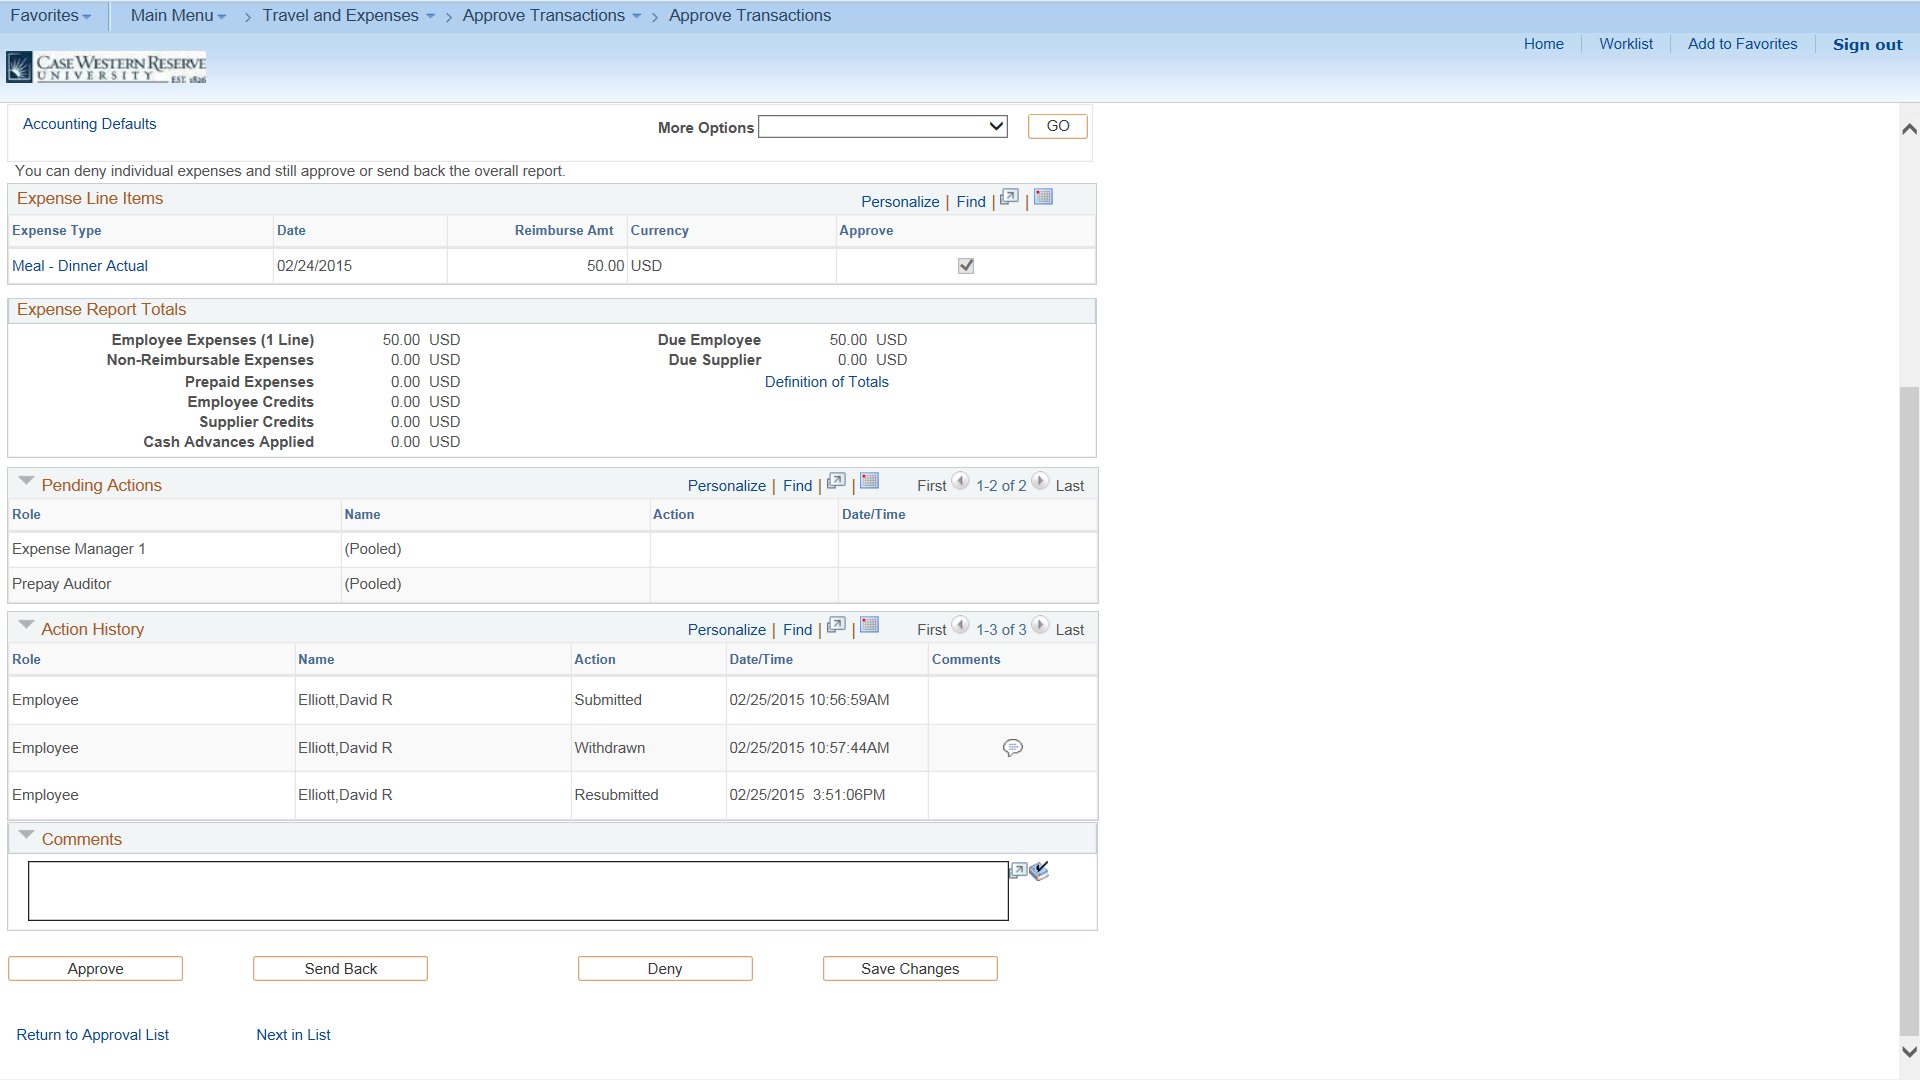
- To continue approvals, click Next in List or Return to the Approval List links to choose another report to view.
End of Procedure.