When you open the CD you will see three folders:
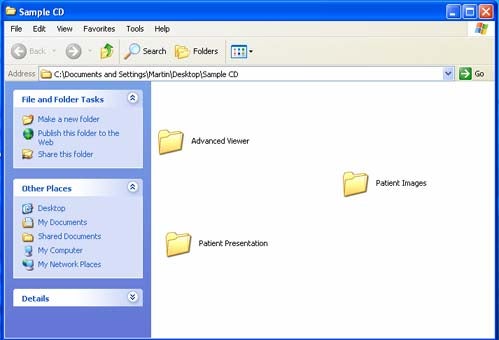
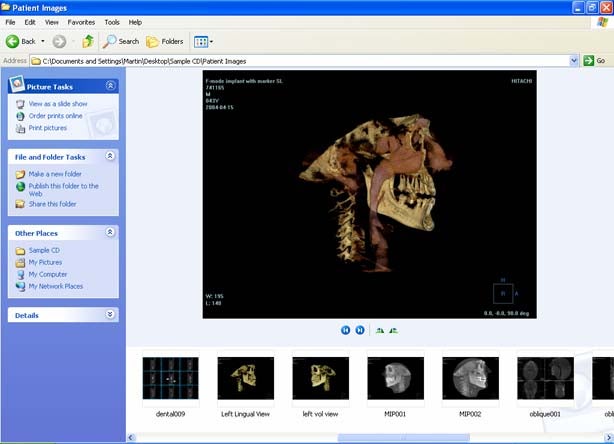
First Folder: Patient Images
This folder contains images of the patient, in BMP format, and can be easily imported into presentations, letters, management programs, Ceph programs, etc.
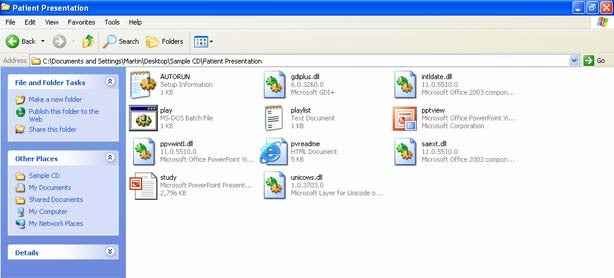
Second Folder: Patient Presentation
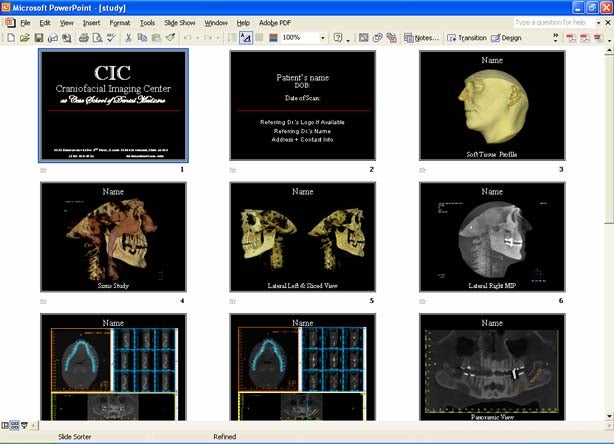
This folder contains a Microsoft Power Point Presentation which starts with the referring doctor and patient information, and then shows the patient's images. An executable version of the presentation is also included in case Power Point is not installed on the computer.
We find this presentation format an easy way to look at and show the images in a consultation environment.
Third Folder: Advanced Viewer
The advanced viewer is a DICOM viewer program that does not need to be installed on your computer to run. Even though the viewer can run directly from the CD, it is recommended to copy the complete Advanced Viewer Folder to the computer with which you will open it. The program requires a good amount of memory RAM, and at least 512 MB would be advisable for good performance.
After copying the advanced viewer folder to your computer, here is what you see inside the folder:
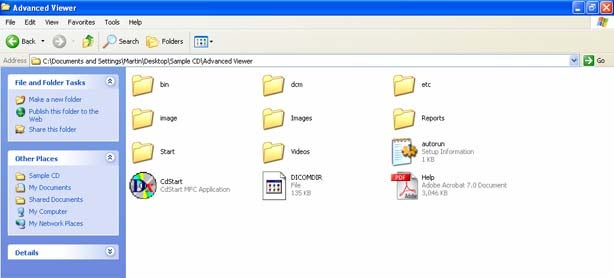
The Help PDF file is a manual for the program in case you want to explore all possible options. The dcm folder is where your patient's data is located. You will have 512 slices in DICOM format. This data may also be opened with any other DICOM viewer.
The CdStart file will get things started. After double-clicking on CdStart, here is what opens:
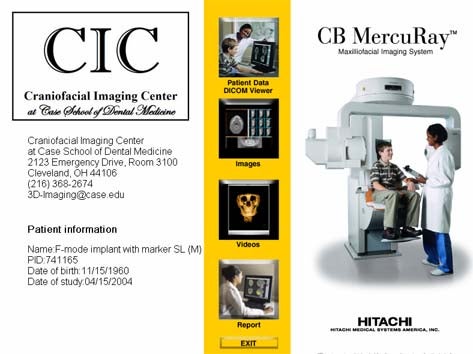
In the yellow column, you will see all options for this program. If you select images, you will see all images in HTML format:
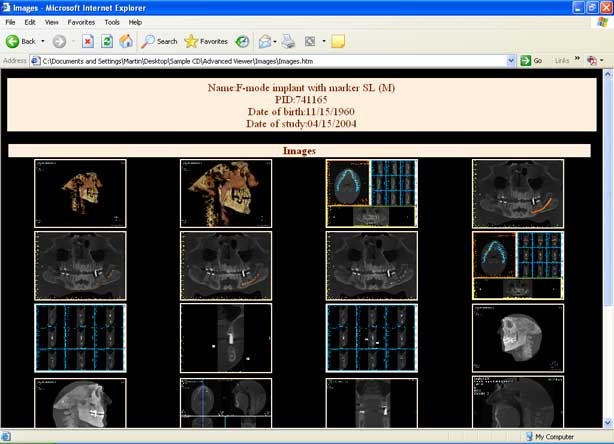
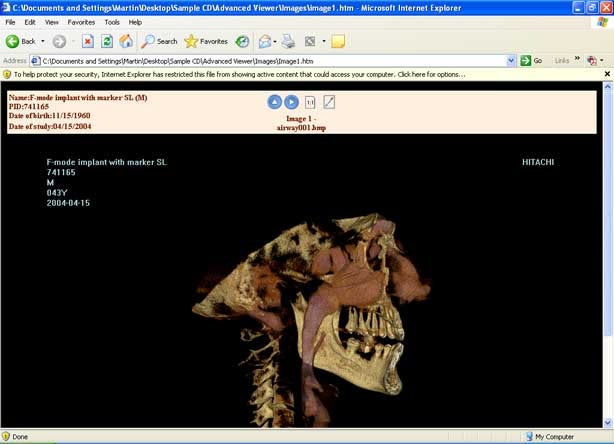
You can here make the images larger by clicking on them:
Videos and Reports work in a similar way.
When clicking on Patient Data DICOM Viewer, here is what opens:
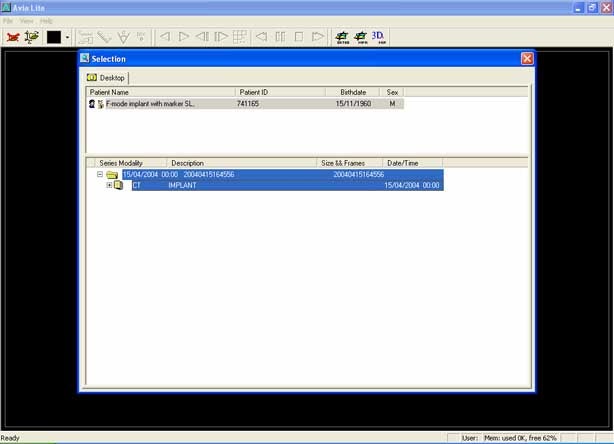
Double click on the patient series (highlighted in blue in the picture above), and the data will load. You will see a green bar in the bottom right corner showing you the progress. Here is where the available memory RAM makes a difference.
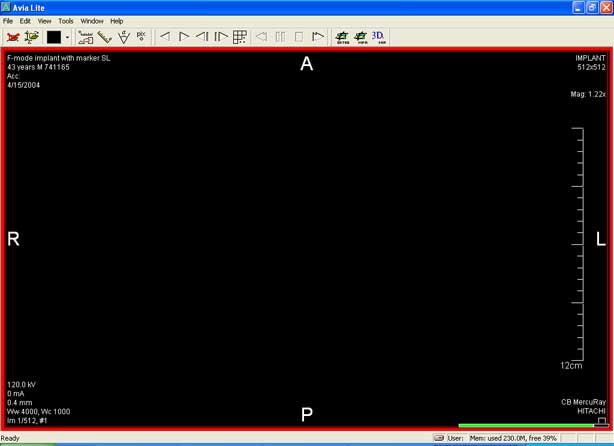
After the green bar is finished, you can click on the viewing modes MPR or 3D MIP, located in the toolbar towards the right side.
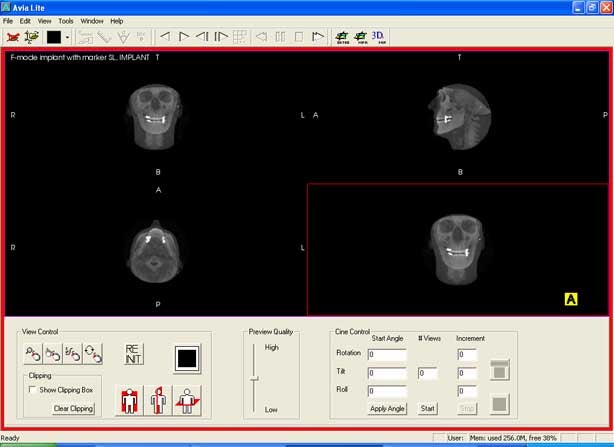
Here is the MPR mode:

On the right side you see a column with Coronal, Sagittal, and Transaxial Views. You can move the green lines to see through the slices. The enlarged image will change in real time. The orientation of this enlarged image can be changed with the drop down menu located in the upper right-hand corner. In the above image, the transaxial view was selected. If your computer is working really slowly, you can increase the slice thickness, which will reduce the amount of images the computer has to work with.
If you want to switch to the 3D MIP mode, it is recommended that you close everything and start again by loading the patient data, otherwise your computer will probably be working much slower than it could be.
Here is the 3D MIP mode:
In this mode, you can rotate the image and view it as a 3D object. To enlarge one of the views, click on the desired view and then click on the black square located in the View Control Box. View Control:
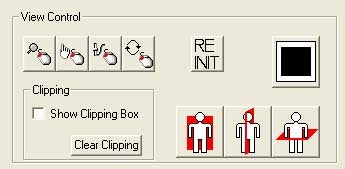
Other features in this Control Box are: Magnification, Moving of the entire image without rotation, window levels (brightness/contrast), and rotation as a 3D image.
Final Tips
When loading a patient's data, you may be prompted to compress the data or increase the slice thickness. These are features available in order to improve the computer performance. If you are having problems with slow images or the computer crashing, choose the compression and increasing the slice thickness options when prompted.