Schedule Options
Zoom offers multiple options to schedule a meeting:
- Schedule from the Zoom App - desktop or mobile. See buttons on right for download links.
OR - Schedule from the CWRU Zoom Web Portal
OR - Schedule from the CWRU Google Calendar
Make sure to log on using Single Sign-On when using the Zoom desktop application.

From the Zoom application, click on the Schedule icon.
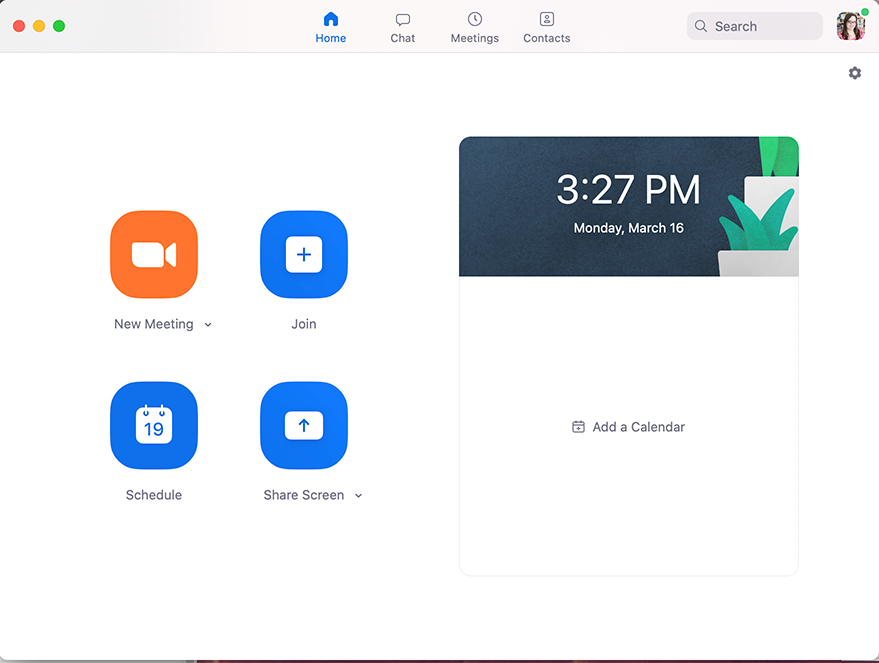
Once the Zoom Scheduler is open, you can begin to set-up your future Zoom meeting.
Note: All scheduled meetings may be started by the host at anytime, regardless of the date and time settings.
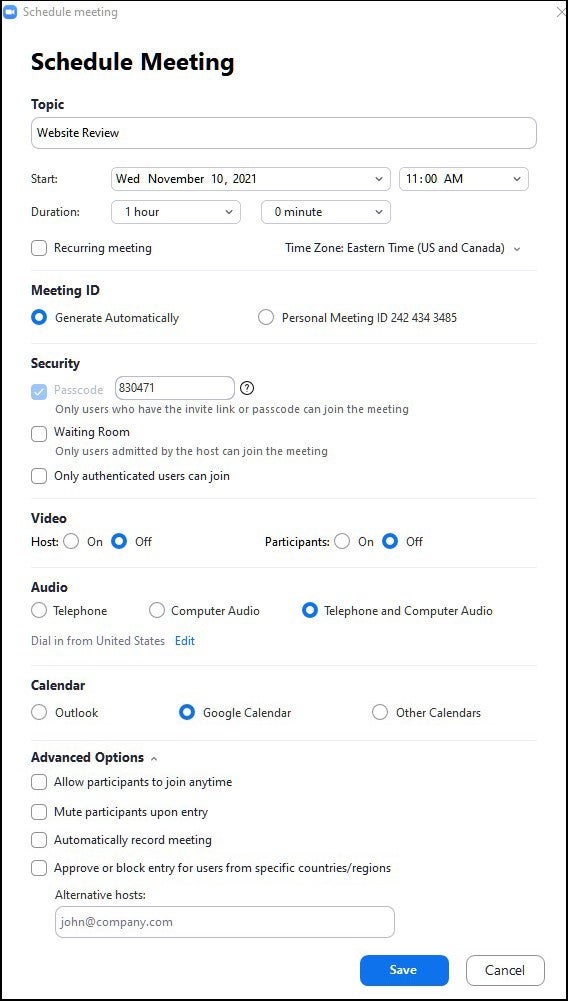
- Topic: Choose a topic/name for your meeting.
- Start: Select a date and time of your meeting.
- Time Zone: By default, Zoom will use your computer's time zone setting.
- Recurring Meeting: Choose if you would like this meeting to reoccur. (The meeting ID will be the same for the recurring meetings.)
- Meeting ID: Zoom will create one or you can use your Personal Meeting ID.
- Passcode: Change the passcode, if desired.
- Waiting Room: Start the meeting with a waiting room.
- Only authenticated users can join: Require attendees to log in to CWRU SSO prior to joining the meeting.
- Video: Default video settings for host and participants.
- Audio Options: Choose whether to allow users to call in via telephone, VOIP, or both.
- Calendar: Which calendar application do you use.
- Advanced Options:
- All participants to join anytime: Permit attendees to join before the host arrives.
- Mute participants upon entry: Participants microphone will be off when joining the meeting. They can turn it on, if needed.
- Automatically record meeting: When the meeting begins, a recording of it will be saved on your local computer or to the Zoom cloud.
- Calendar: This will add the meeting to the selected calendar.
- Approve or block entry for users from specific countries/regions: Allow users from specific regions to join your meetings; or block users from specific regions from joining your meetings. Users' region/country is determined by their IP address.
- Alternative hosts: Add people within CWRU who may act as host of this meeting if you are late or unable to attend.
- Save: Click here to finish. The calendar you selected will open and participants to the meeting can be invited.
Using the CWRU Zoom Web Portal
- The CWRU Zoom Web Portal is located at cwru.zoom.us
- Select "Sign In"
- Select "Meetings" from the left side menu
- Select "Schedule a New Meeting"
- Fill out the basic information about the meeting and click "Save"
- The information about the meeting will appear. By selecting "Google Calendar" Zoom will add this information to your Google Calendar where you can invite others to the meeting.
Zoom provides a brief video of these steps plus links to other resources.
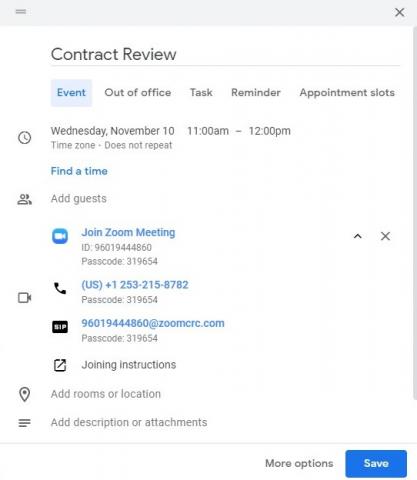
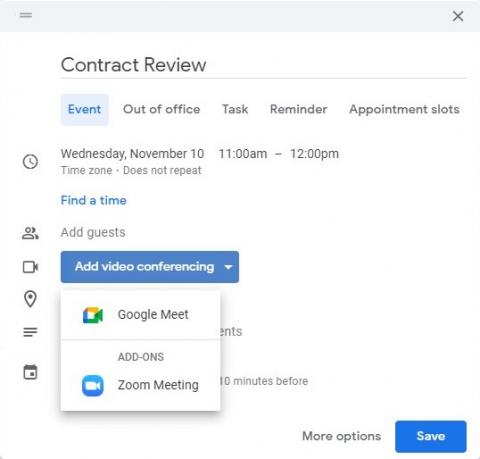
- Log into webcalendar.case.edu
- On the calendar select the day and time for the meeting or class.
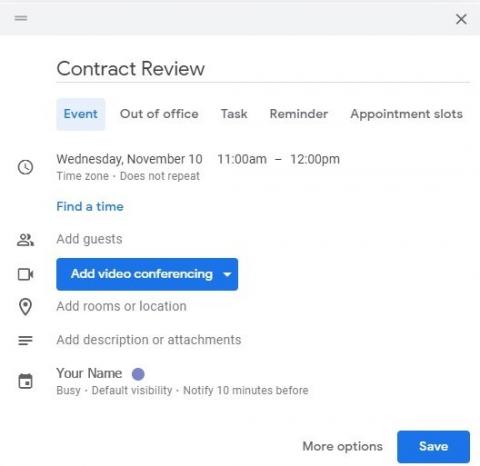
- Using the dropdown "Add video conferencing" select "Zoom Meeting".
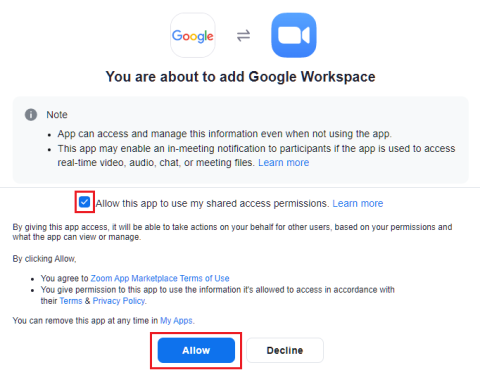
- If this is your first time creating a Zoom Meeting from Google Calendar, you'll be asked to grant permission for Google to communicated with Zoom. Click on "Authorize".
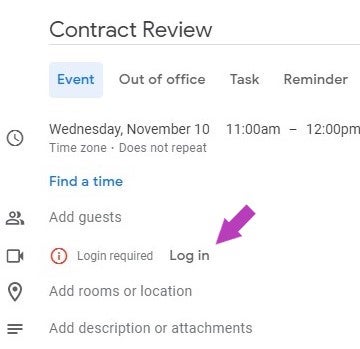
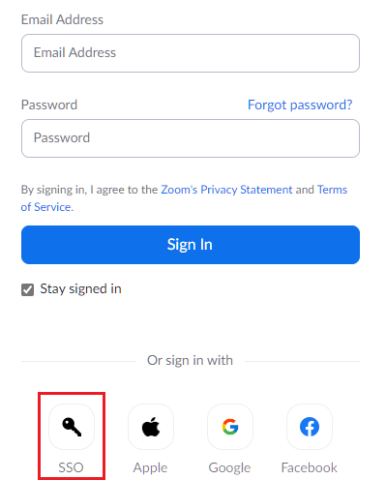
- Sign in with SSO.
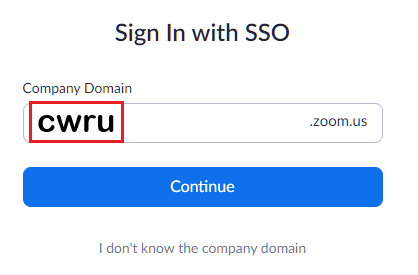
- When asked for the domain, enter "CWRU" and click "Continue".
- Google will display the services Zoom would like access. Scroll down and select "Authorize".
- Zoom conferencing information is added to the appointment.