Resources
Software Downloads
Zoom Booking Instructions
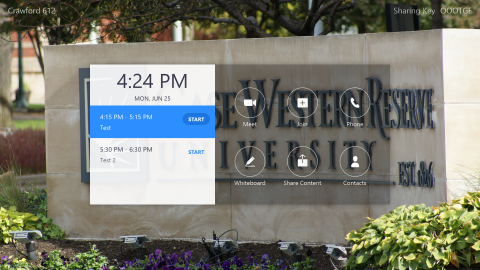
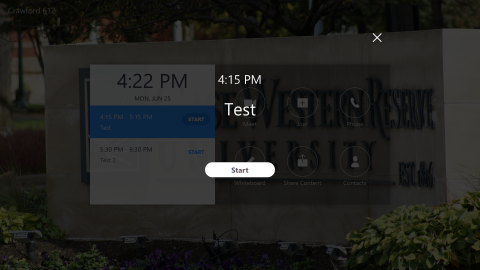
Following these instructions will place a meeting on a Zoom Room Display schedule and allow you to start a Zoom meeting directly from the display by tapping the Start button.
The display will also alert you when a meeting is about to begin.
Add the Zoom Room Resource to your calendars
- Log into webcalendar.case.edu using your Case ID.
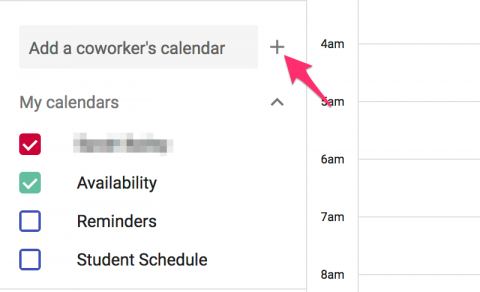
- Click the + button next to the box labeled “Add a coworker’s calendar” and choose “Browse Resources” from the list.
- In the list that appears, check the box next to the Zoom Rooms for which you’d like to see the schedule and schedule meetings.
- Click the back button in the top left corner to go back to your calendar. You should now see the Zoom Room listed in your calendars.
Create a meeting and make it a Zoom meeting
- Go to http://webcalendar.case.edu in your browser
- Click on the date/time you’d like to create your meeting.
- Click on the More Options link to go to the meeting details page.
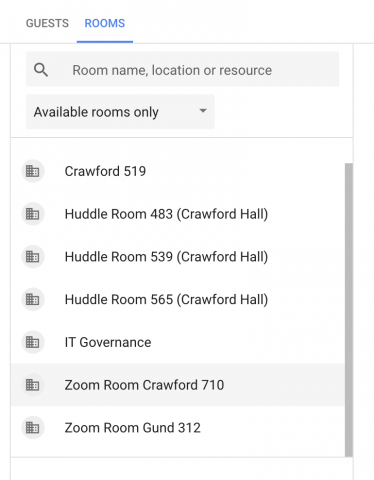
- Click on the “Rooms” tab above the attendees list
- From the list, select your desired Zoom Room. They’ll be named “Zoom Room {Building} {Room #}”
- If you don’t see your Zoom Room on the list it may be unavailable. Double check that the Zoom Room is available by looking at the calendar you added in the Add the Zoom Room Resource to your calendars section. If the room appears to be available but you cannot add it as a resource, you might not have the right permissions. Contact the person in charge of the Zoom Room to request that you be allowed to modify its schedule.
Schedule the Zoom Meeting
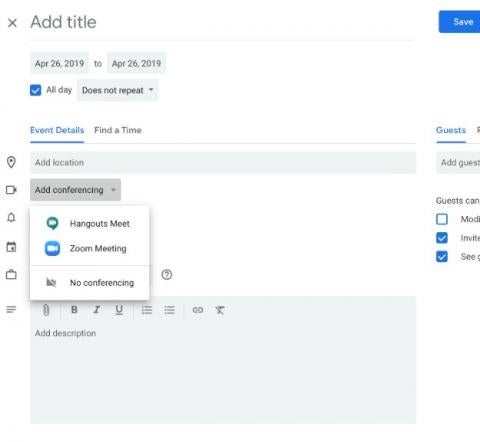
When editing the Google Calendar event, click the Add conferencing dropdown and select Zoom Meeting from the list.
Save your event and invite attendees
In the Google Calendar event editor, confirm your meeting details are correct, then save the calendar event. Send invitations if desired.


